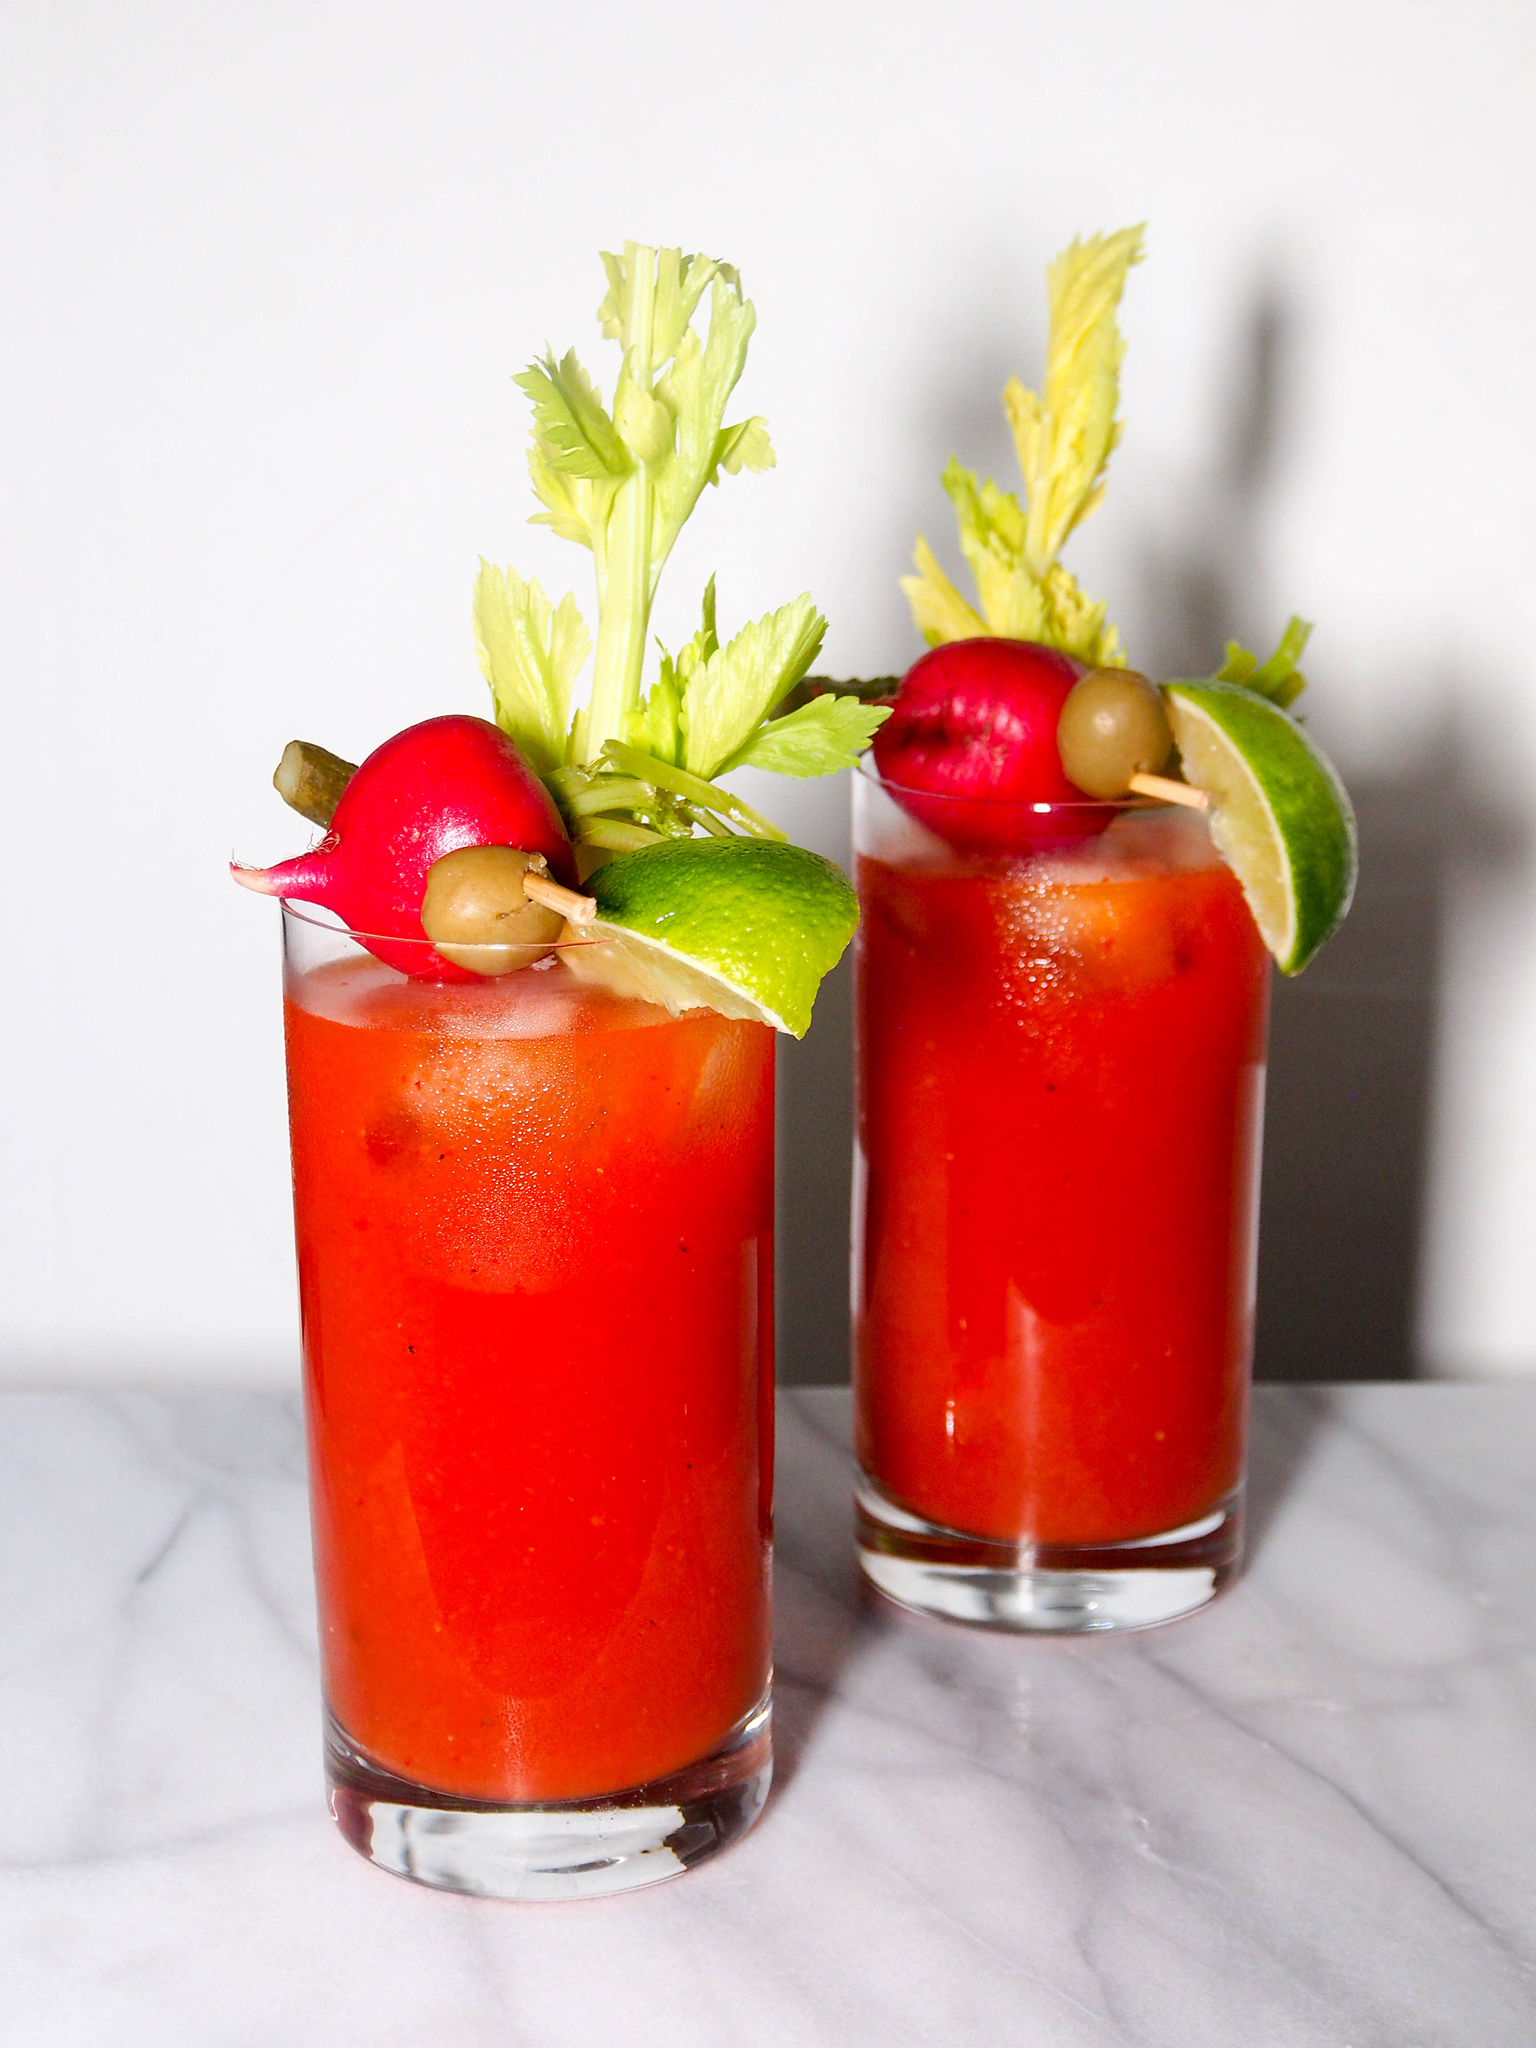

Spicy Kimchi Bloody Mary
Serves 8

Ingredients:
2 cups kimchi
46 oz tomato juice
1/4 cup Sriracha chile sauce
2 tablespoons Worchestershire sauce
2 tablespoons red wine vinegar
Salt
Freshly ground pepper
2 cups Soju (Korean vodka)
Ice
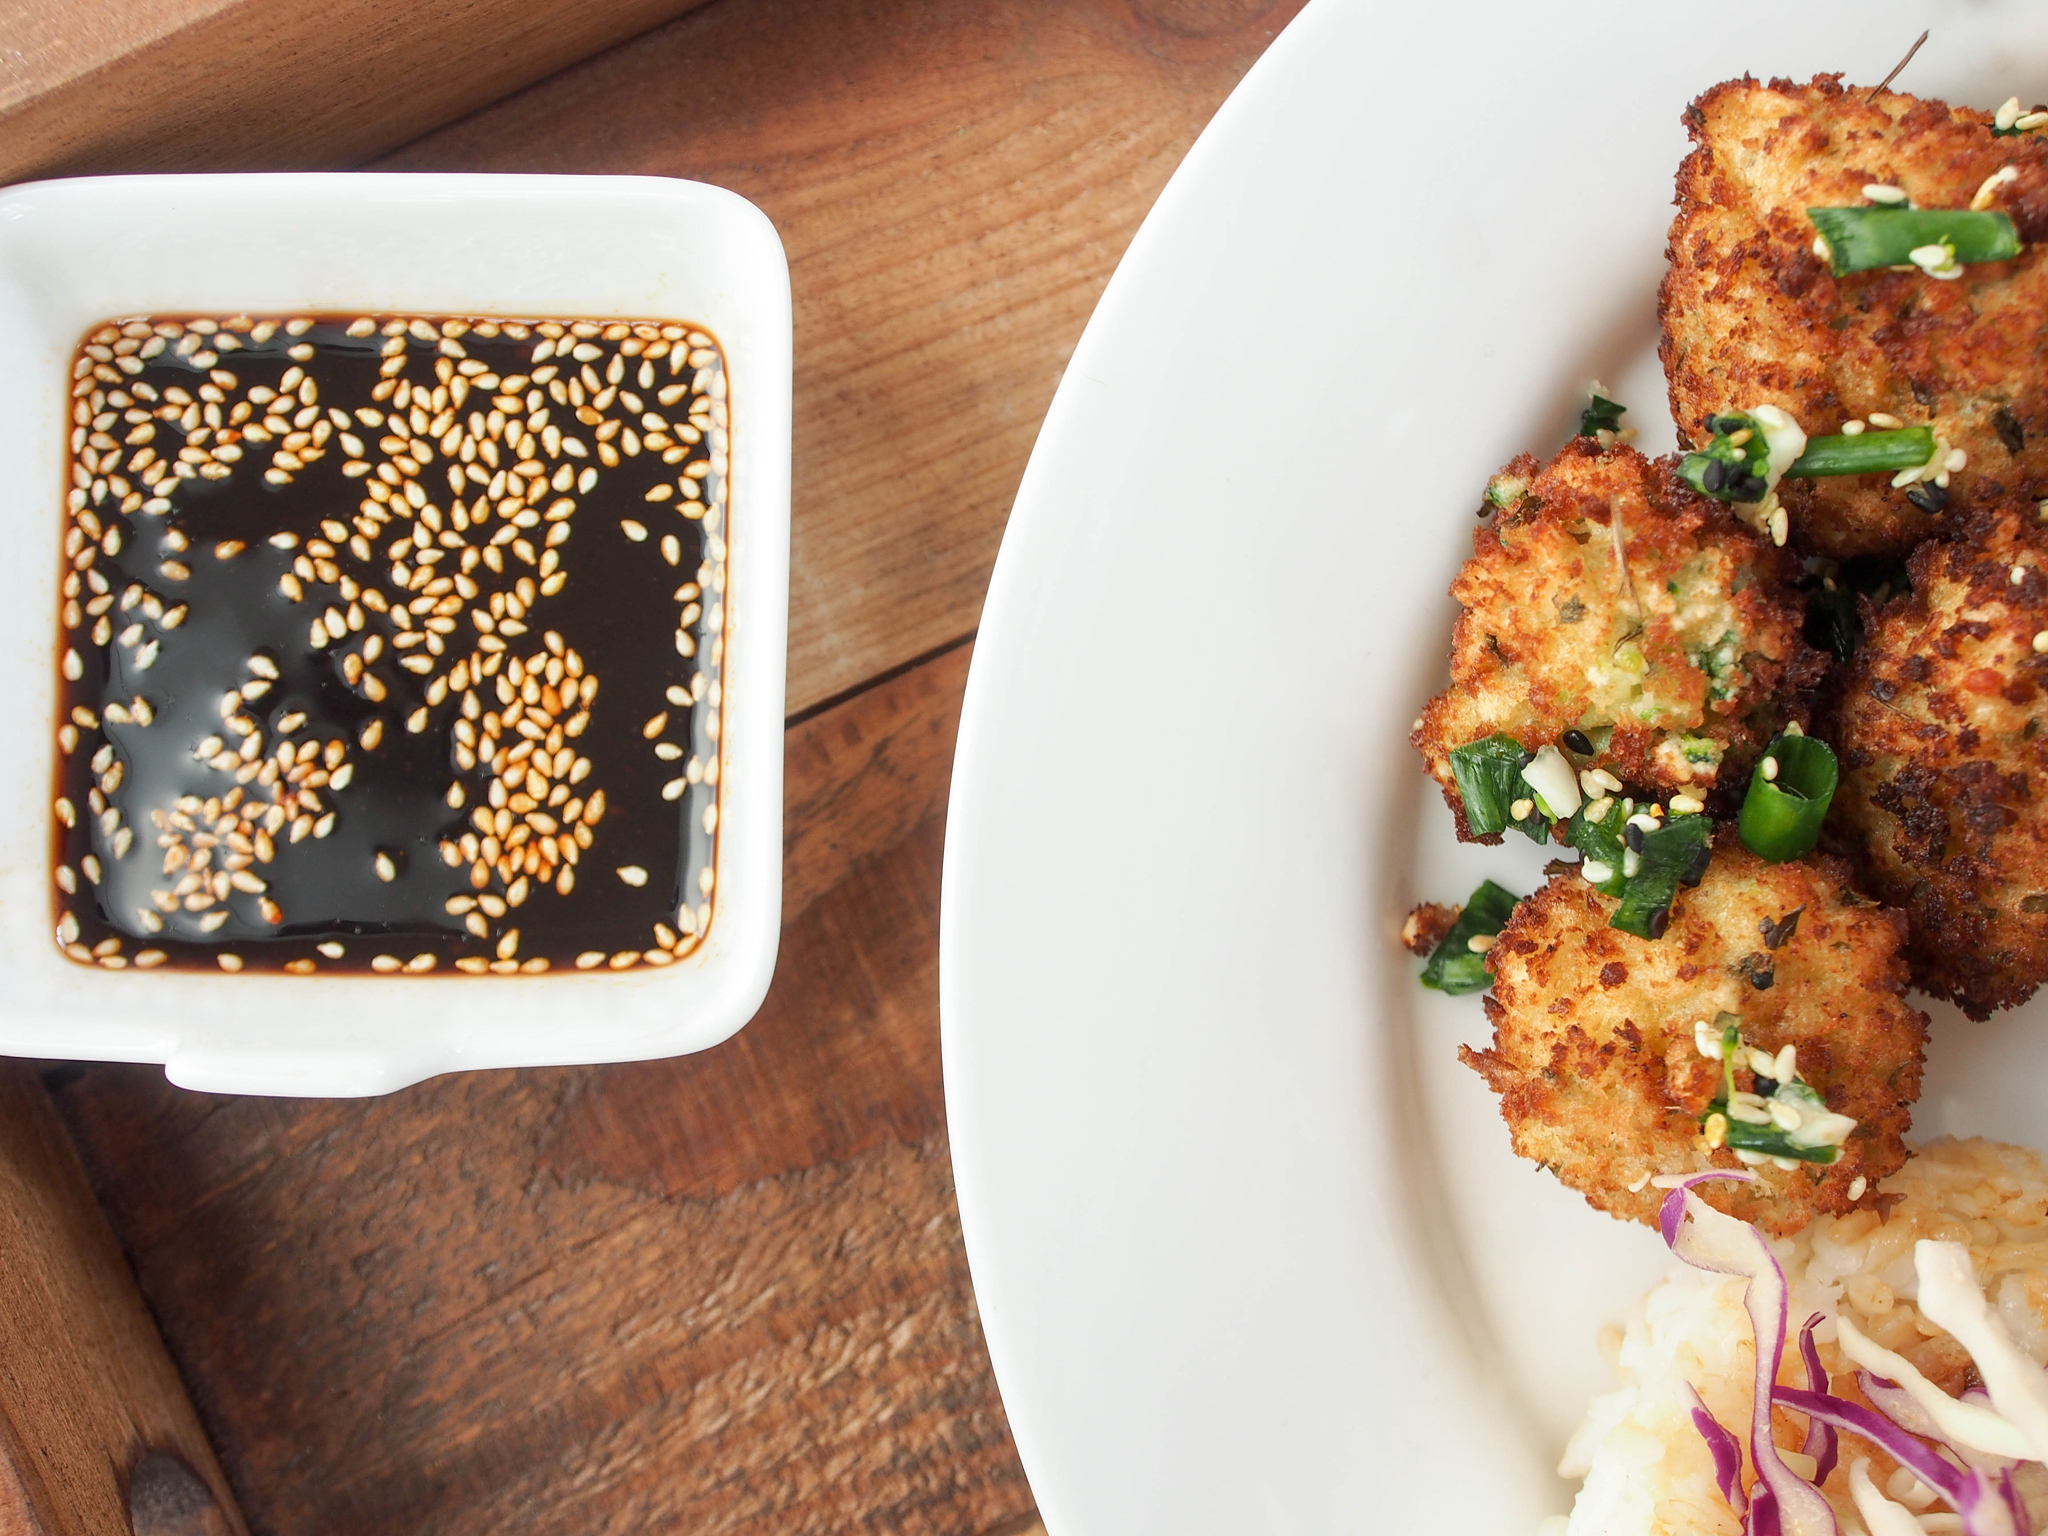
Celery stalk, olives, radishes, pearl onions and cornichons for garnish
Directions:
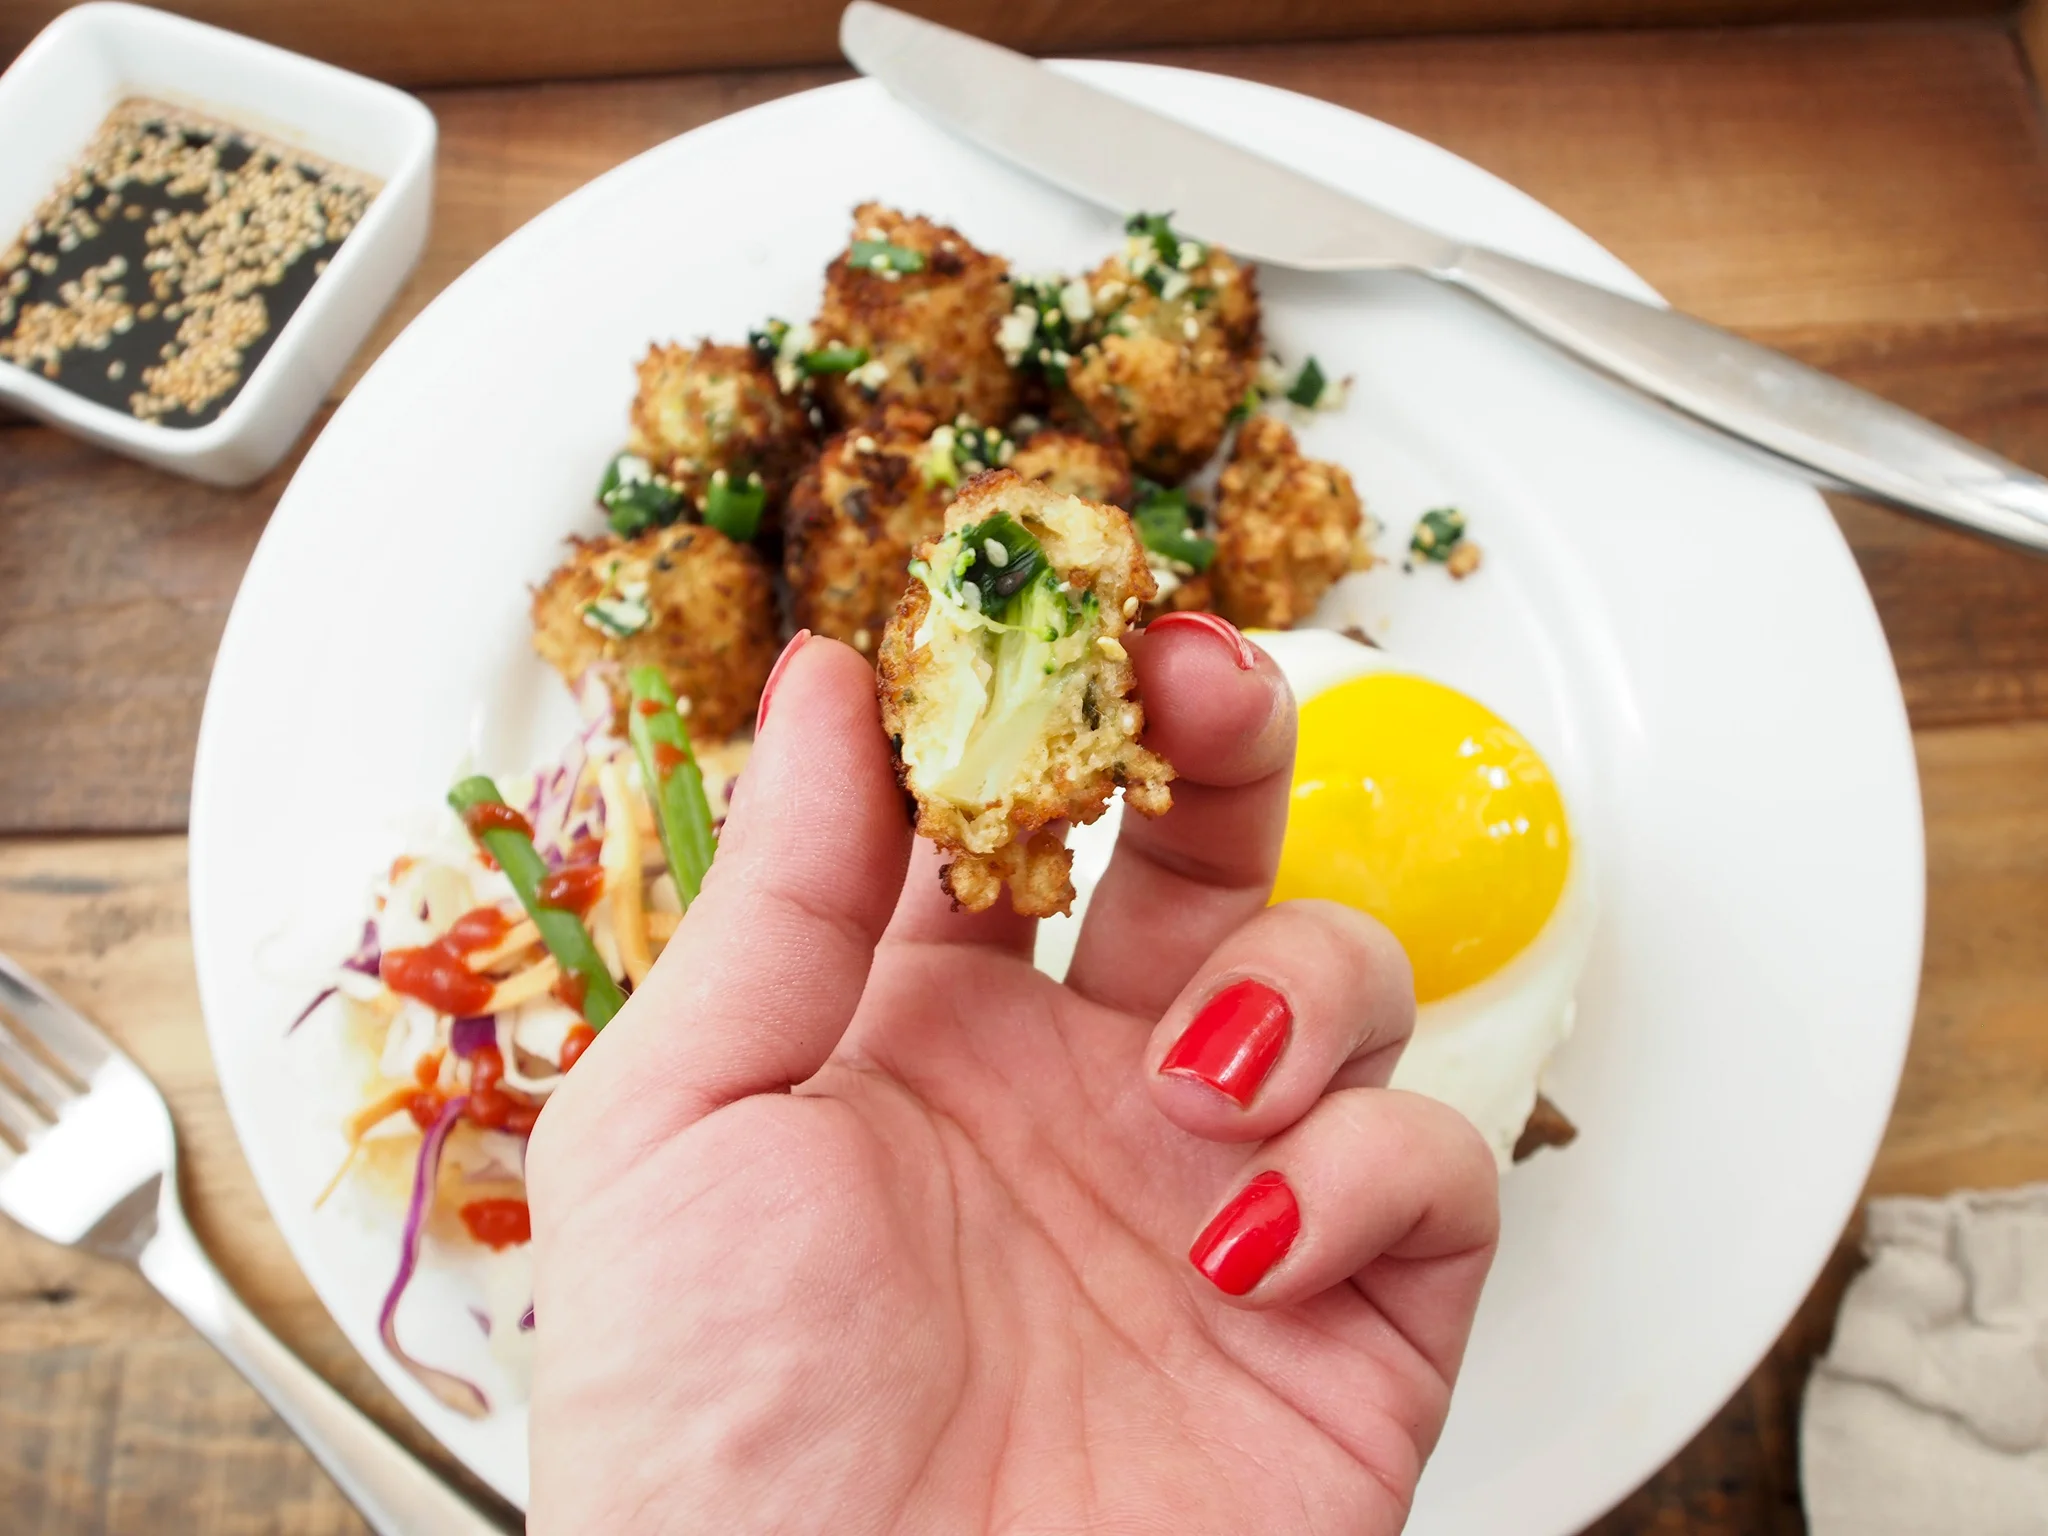
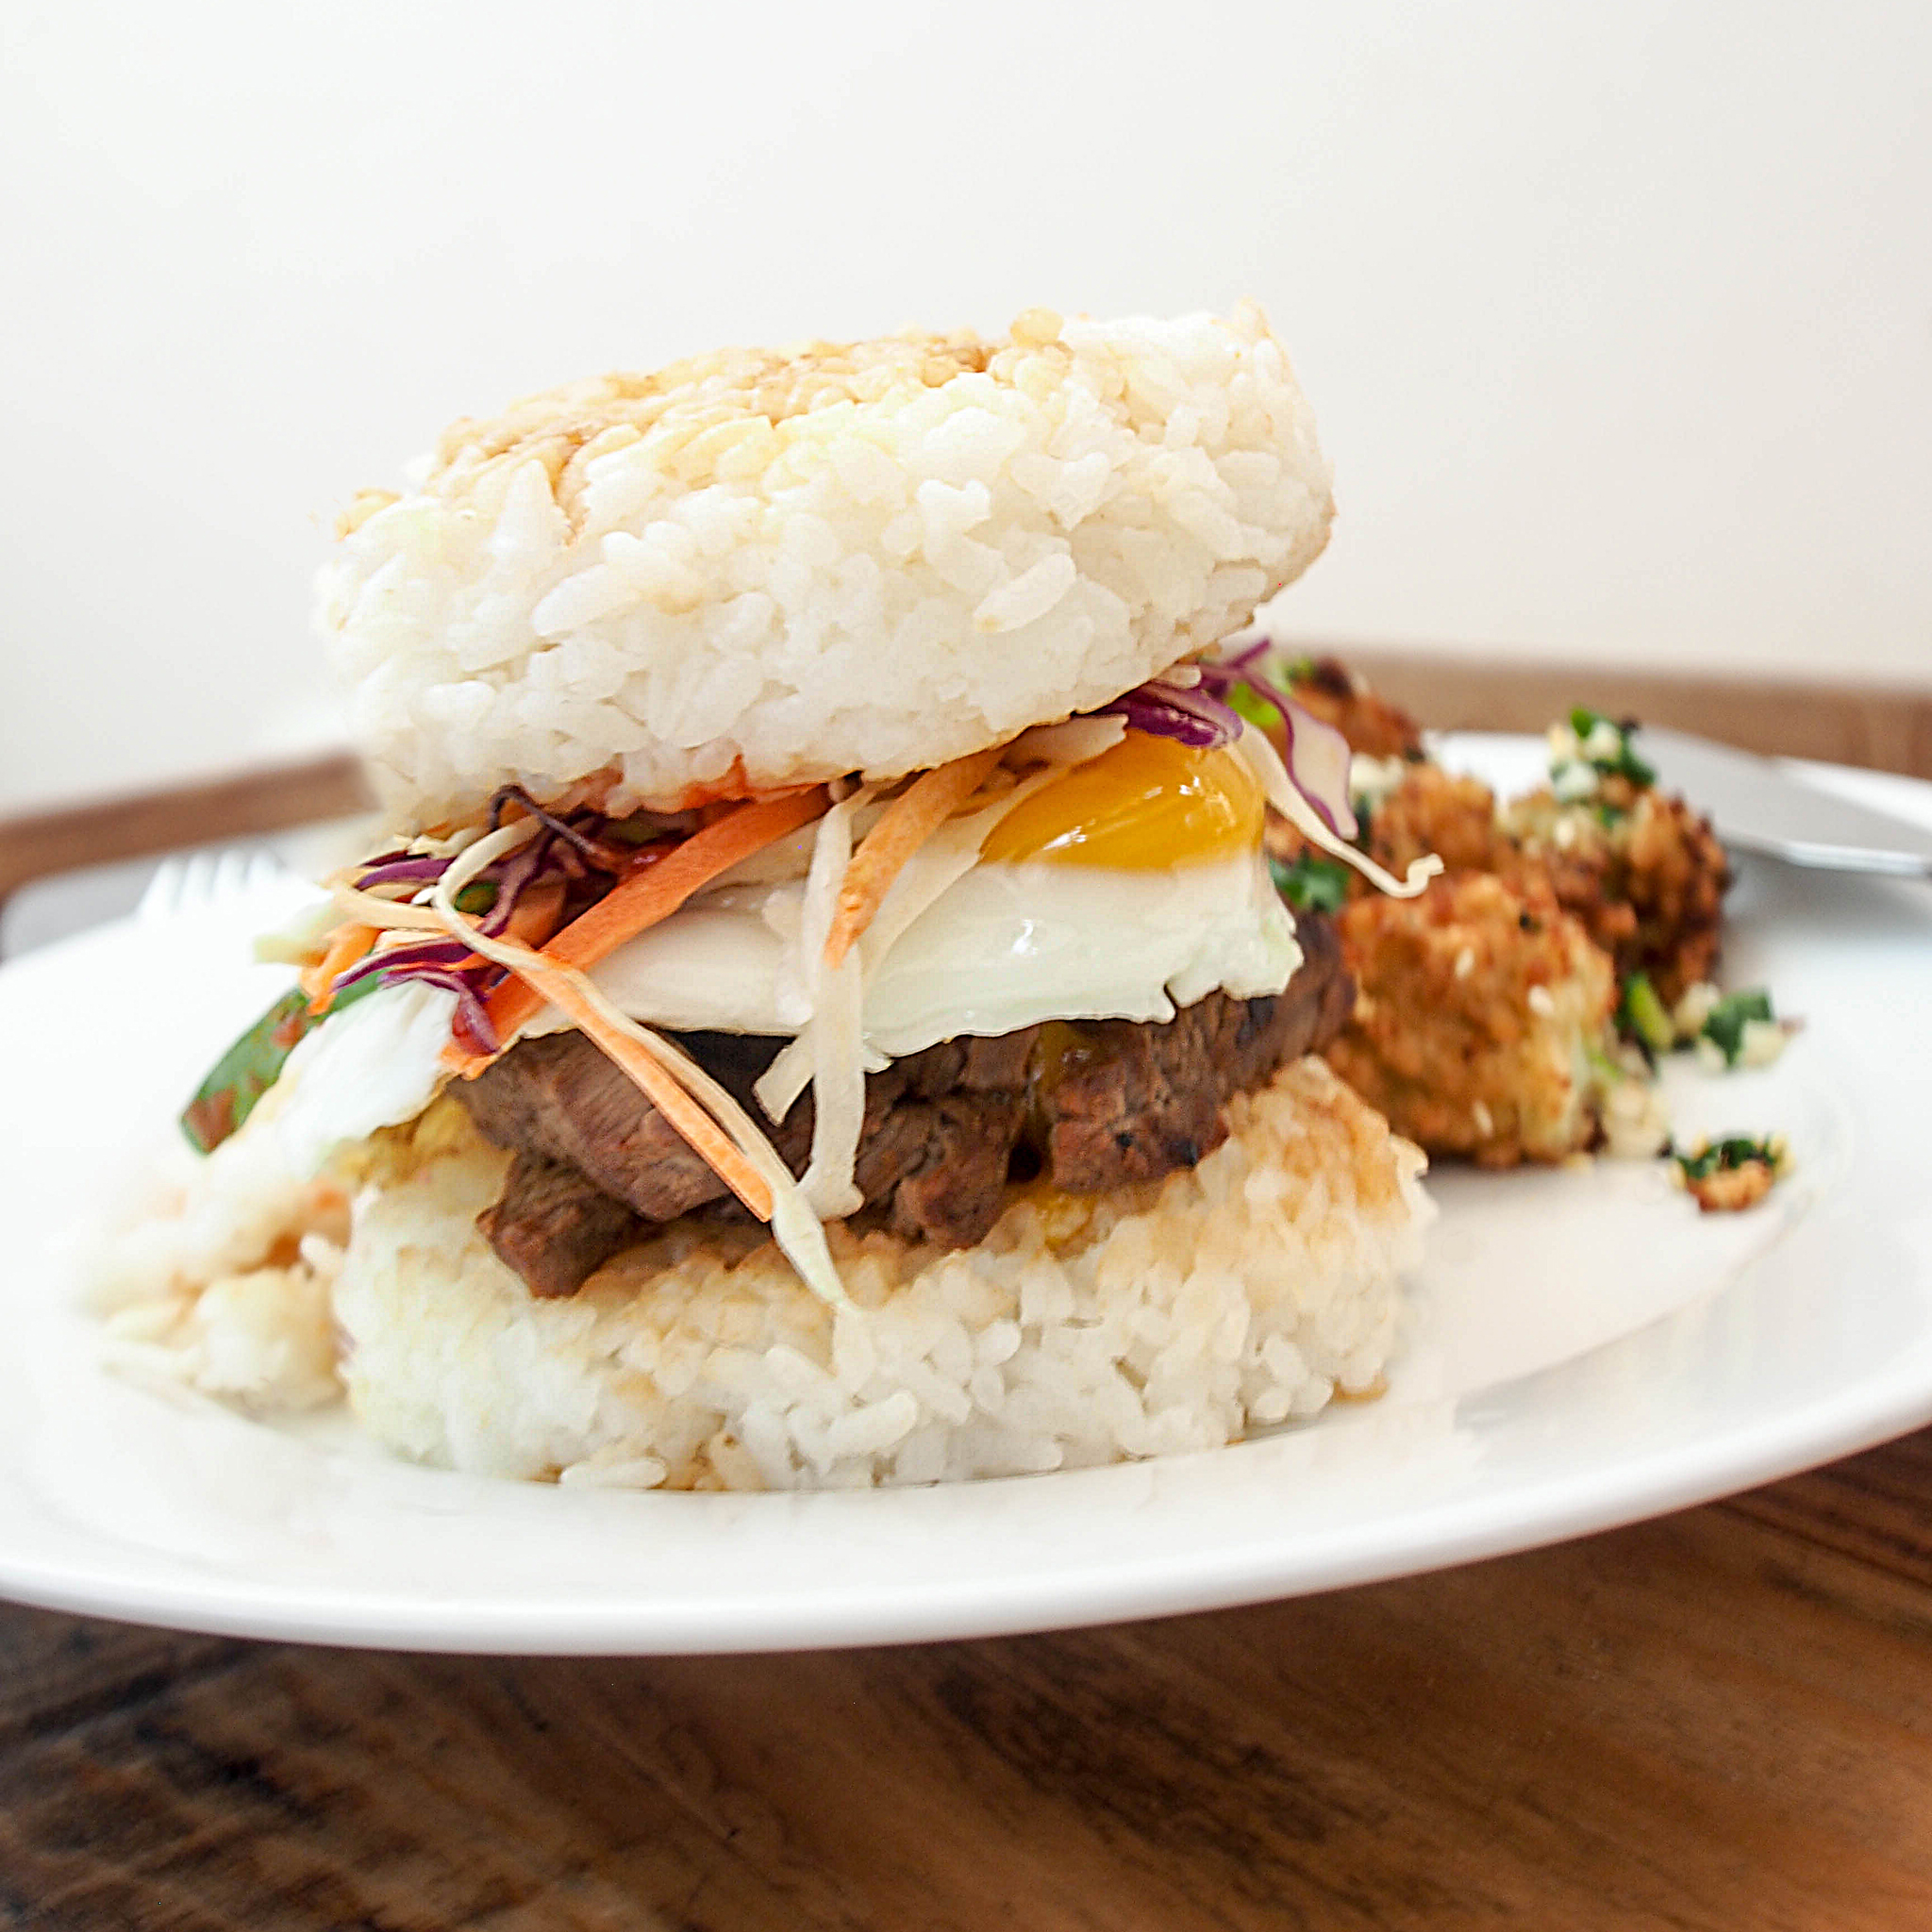
Combine tomato juice, Sriracha sauce, Worchestershire sauce and vinegar. Puree kimchi with mixed juice, working in batches. With a fine-mesh strainer over a bowl, strain the kimchi puree, pressing firmly on the solids to get as much juice as you possibly can. You can save the solids for another use. Chill combined juice thoroughly, then season with salt and pepper. Stir in vodka. Serve over ice garnished with celery stalk, olives, radishes, pearl onions, and cornichons. Enjoy with a staple New York City brunch!
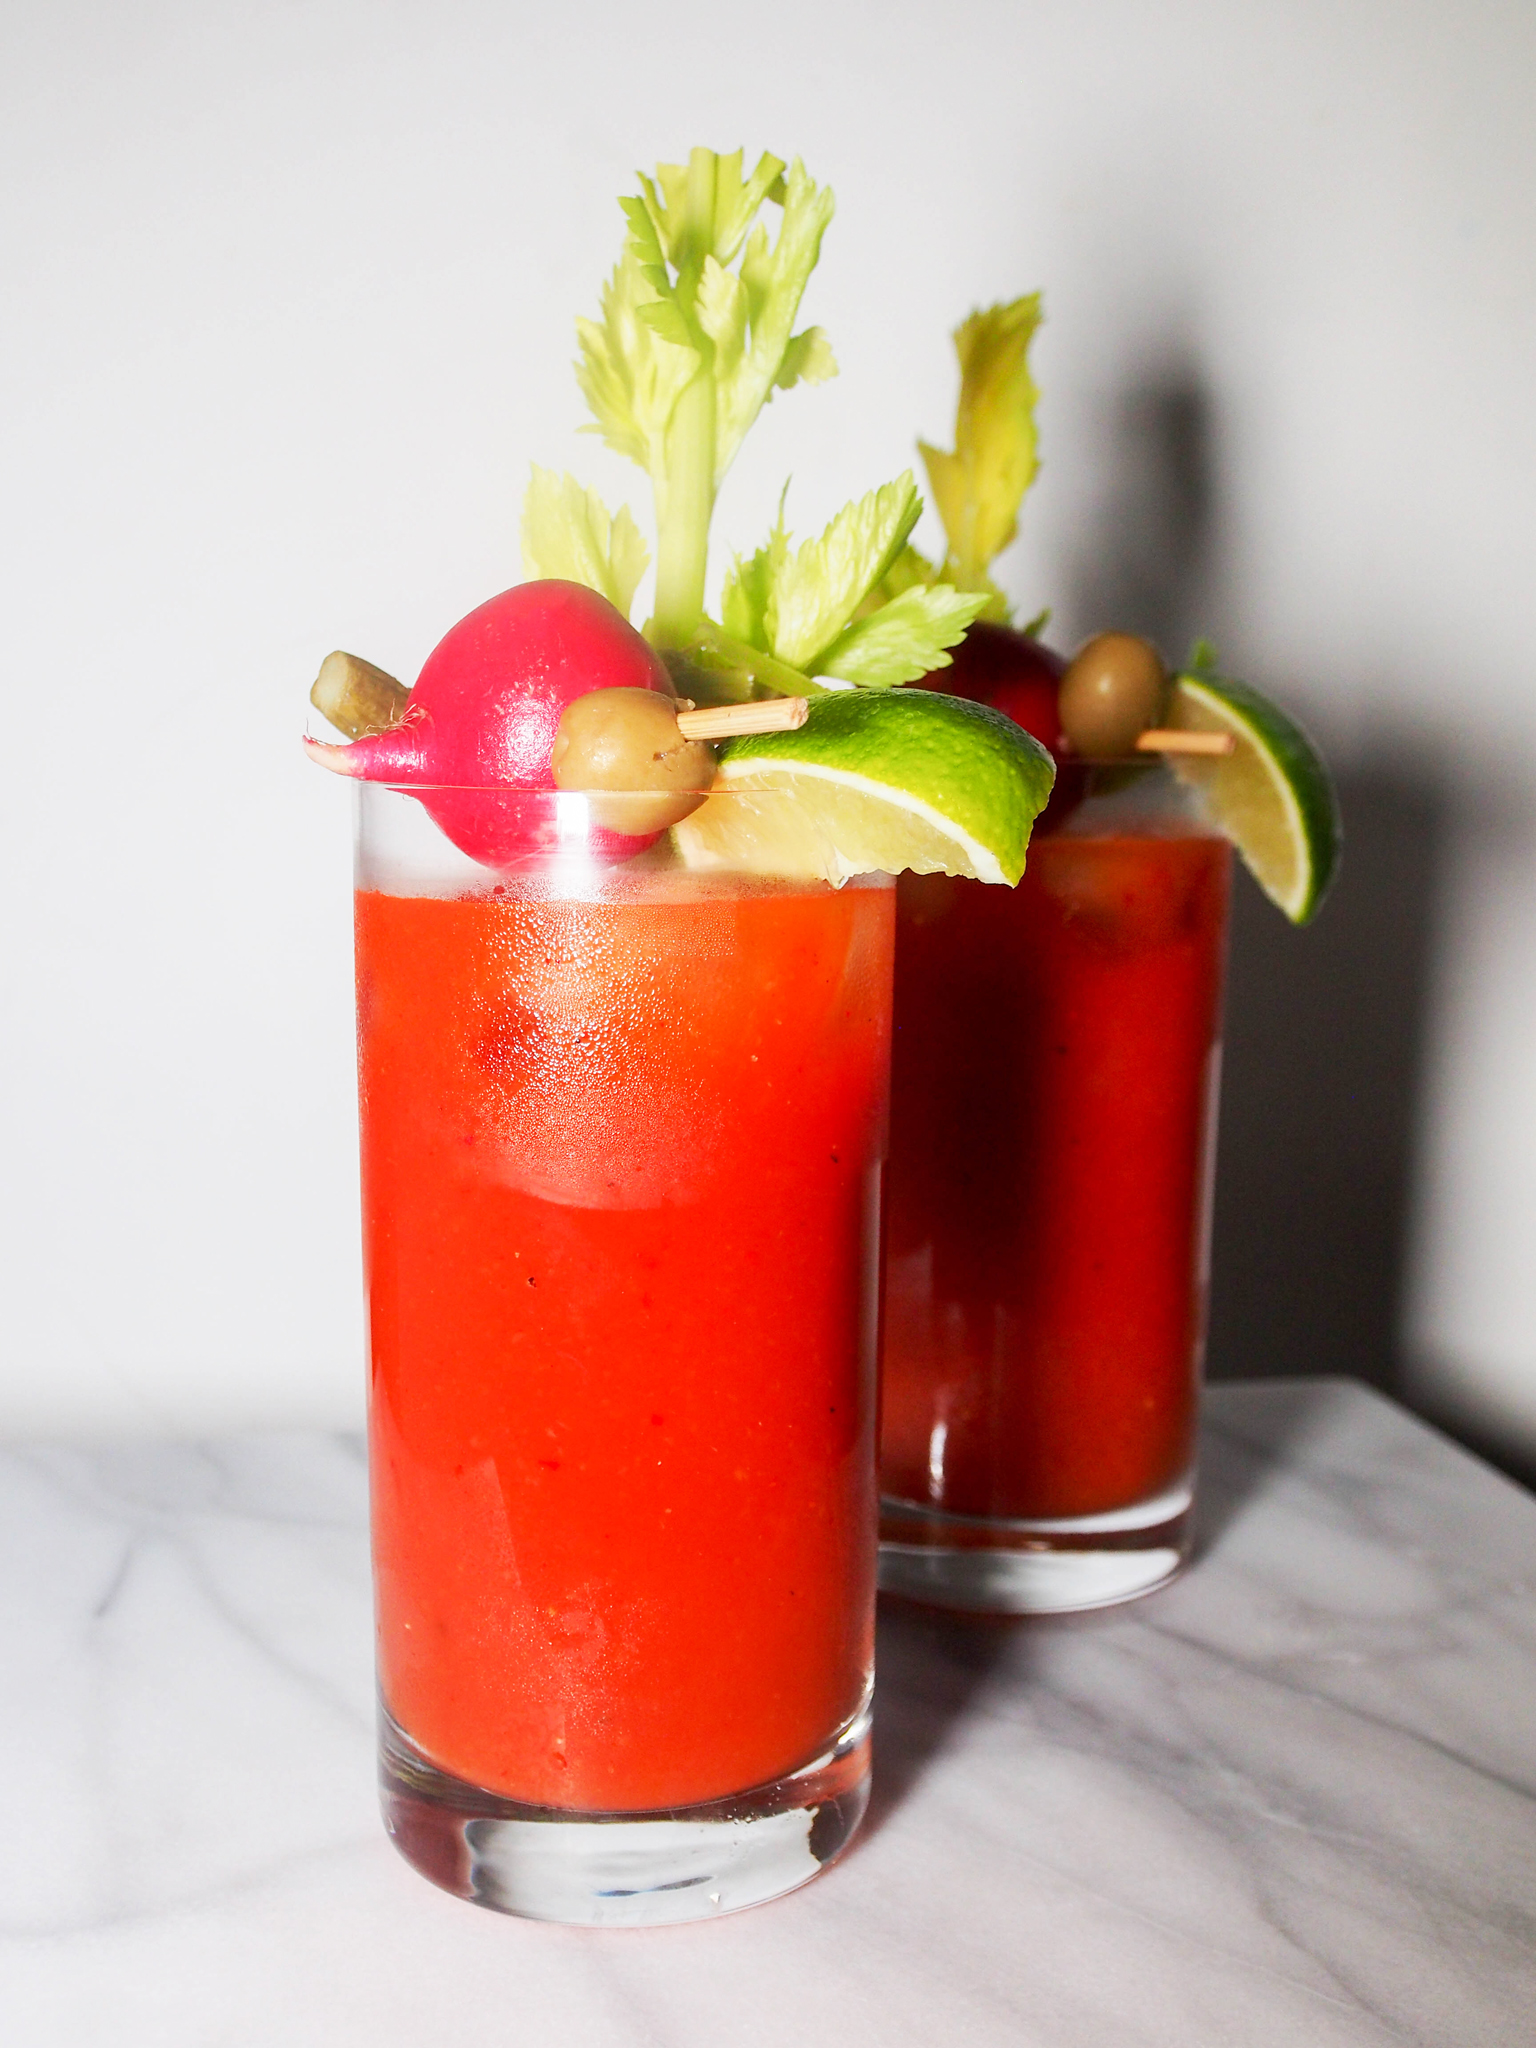
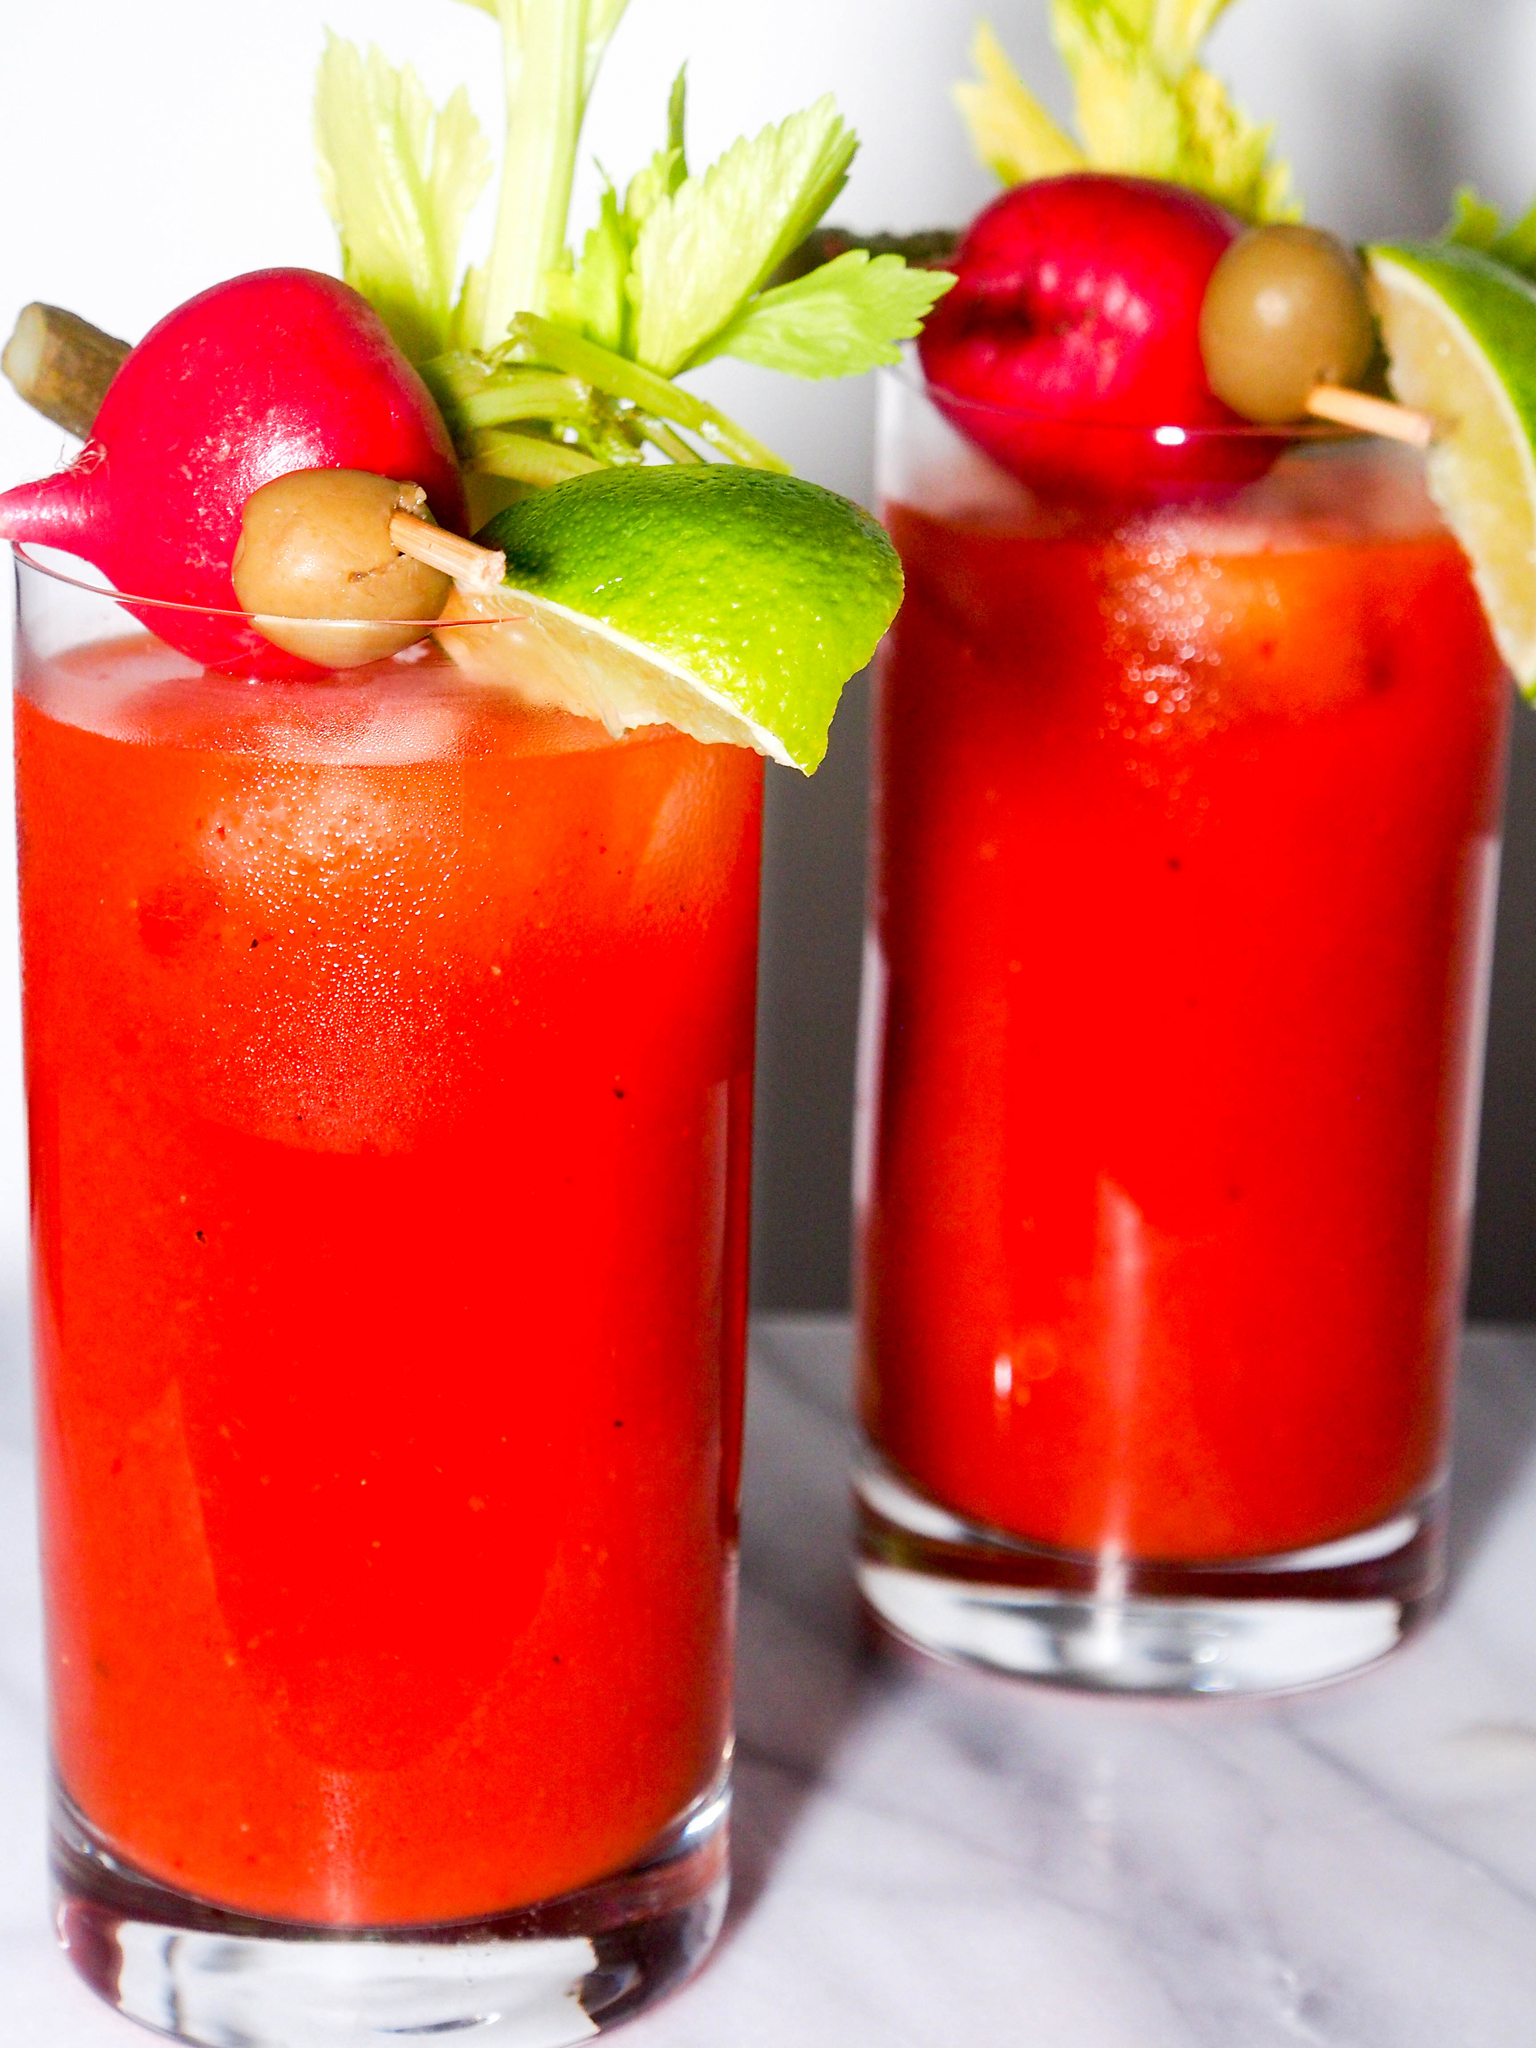

Sunday Funday equals brunch and cocktails. And this spicy kimchi Bloody Mary's will knock your socks off! It's got a kick to it and will definitely have any pre-brunching game going strong. The heat from the kimchi gives the traditional Bloody Mary new, pungent flavors. Combining other varied spices from the sauces, such as Worcestershire and Sriracha, and counter-balancing it with a splash of vinegar, creates the perfect leisurely yet unique cocktail. Korean soju also has a distinct taste, putting a twist on the usual vodkas used in Bloody Mary's.
What's your go-to brunch cocktail? Are you a Bloody Mary enthusiast? More of a mimosa kind of gal? Or bellini's? Screwdriver's? Why not try this recipe today? It's super easy and a great changeup to your usual brunch hangout. Sometimes it's nice to just chill at home or have a small get-together rather than hustling through the crowds to grab a table at a restaurant. Especially when it's April and it feels like 30° outside! But whatever you plan on doing, I hope your Sunday is nothing but enjoyable. Until next time! Love. Always, love. ❤️